How to Make a Budget in Google Sheets and Microsoft Excel

There are dozens of tools for making a budget, tracking bank accounts, and creating savings goals.
But before you invest in complicated money management tools, it might be better to simply make a budget in Google Sheets or Microsoft Excel.
You can create your own free budget template in less than an hour. And by building your own budget, you’ll gain insights about your money mindset, and the financial goals important to you.
Table of Contents
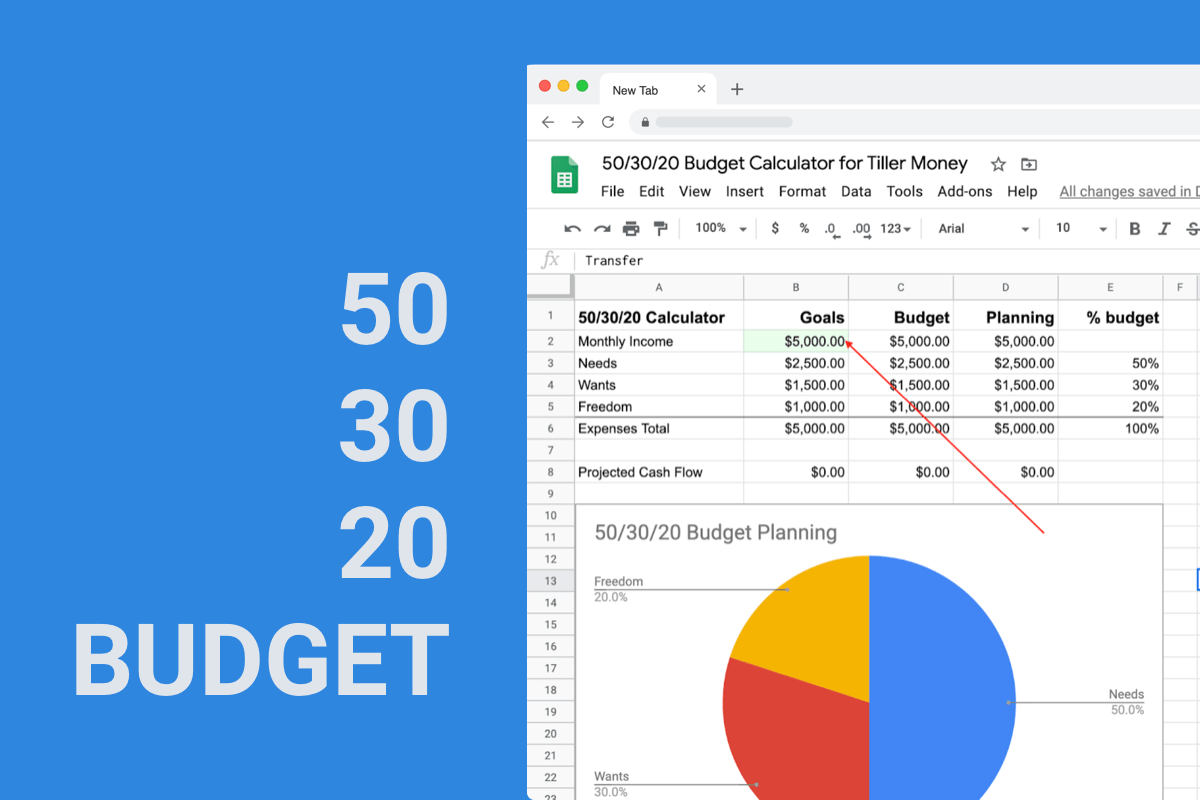
If you track your budget with a spreadsheet, you’ll love Tiller
That’s because Tiller automatically imports all your daily spending and balances into your budget spreadsheets. No more data entry or logging into multiple accounts. It’s the fastest, easiest way to budget with a spreadsheet.
Try it completely free for 30 days – your card isn’t charged until the end of your trial, and you can easily cancel anytime.
1: Open a new spreadsheet
Go to your Google Drive account. On the left sidebar, click “New” and “Google Sheet.”

Or open a new workbook in Excel:

2: Choose your budget categories
Budget categories are essential for tracking your expenses and income over time. That’s why every budget should begin with choosing your categories, regardless of your preferred budgeting method.
To help get you started, here’s a list of 20 suggested budget categories.
While there isn’t a “right” number of categories, at Tiller, we suggest keeping your categories simple. Some people budget with as few as three categories – or even one!
You only need enough categories to encompass all your income and expenses without creating unnecessary complexity.
Within your categories, it’s helpful to track your:
- Income – You may track some or all income, depending on your goals.
- Expenses – These will be most of your categories.
- Transfers – credit card payments, automated savings, etc.
- Savings – This can include emergency funds, retirement savings, etc.
- Debt Payments – Car payments, student loans, etc.

If you find that specificity helps you maintain better control of your finances, you may want to add subcategories to more closely track certain expenses.
This is especially helpful if you’re trying to reduce your expenses in a specific area of your finances.

3: Decide what budget period to use
You may want to budget daily, weekly, bi-weekly, monthly, or yearly. Which period you use could depend on:
- Pay frequency
- How closely you want to monitor your finances
- How much time you want to spend updating your budget spreadsheet
You can also use multiple budget periods simultaneously. In fact, most budget apps and software track income and expenses by month. They then extrapolate the budget out to a year.
Regardless of the budget period, you’ll want to create three columns:
- A column for your budgeted income and expenses
- A column for actual income and expenses
- A column showing the difference between the two, so you can see a complete picture of your progress

4: Use simple formulas to minimize your time commitment.
Manually summing cells is time-consuming, but Google Sheets and Excel makes it easy with formulas.
You can figure the difference between your budgeted and actual income and expenses by subtracting the cell containing the “actual” amount from the cell containing the “budget” amount.

You can also vertically sum all of your income and expense categories by using the SUM formula.

5: Input your budget numbers
Creating a budget is nothing more than setting financial goals. Your income puts a hard limit on your allowable expenses. However, within the parameters of your income, you can decide how to spend your money.
Your historical financial data is a great jumping-off point for creating your budget. Look through the last few months of bank records to see where your money is actually going.
6: Update your budget
As your chosen budget period progresses, be sure to regularly update your budget spreadsheet with all of your actual transactions. This way you can track your progress.
You may need to adjust your budget to account for emergency spending or unplanned income. Budgeting is about making yourself aware of the money coming in and going out of your life.
Don’t worry if your budgeted and actual income and expenses vary. The more you use your budget, the more accurate it will be.
Creating a budget from scratch doesn’t have to be difficult. You don’t need a complicated spreadsheet with advanced formulas in order to conduct a thorough financial check-in.
Creating a budget from scratch doesn’t have to be difficult. You don’t need a complicated spreadsheet with advanced formulas in order to conduct a thorough financial check-in.
However, if you’re comfortable with spreadsheets, you may wish to build in additional features to make your budget spreadsheet more informative and visually appealing.
Additional formatting options
Conditional formatting
Conditional formatting is a great way to compare your budgeted vs. actual expenses visually.
- Right-click on the cell you want to format and choose “Conditional Formatting.”
- Set the condition.
- Choose what happens with the condition is met.

Now, instead of analyzing your budget numbers individually, you can easily see which categories are over or under budget at a glance.
Charts and graphs
You can also add charts and graphs to show trends in your spending.
- In the menu bar, choose “Insert” and “Chart.”
- A sidebar will appear on the right of your screen. It allows you to customize:
- The data in your chart
- The type of chart or graph
- Various characteristics of the chart or graph

Leverage formulas
Utilize essential Google Sheets formulas, such as GOOGLEFINANCE, PMT, and SUMIFS, to track more specific aspects of your finances, such as investments and debt.
Bonus: How to Connect your banks to your spreadsheets
If you’re interested in budgeting in a Google Spreadsheet, consider signing up for a free trial of Tiller.
Only Tiller automatically updates Google Sheets and Excel with your daily spending, balances, and transactions so you can keep a clear, confident view of your money in one place.


Tagged: budget, budget Google Sheets, Google Sheet Template, Google Sheets Tips, How to